- From inside the ‘Patterns’ tab, click the
 button to create a new pattern. After doing so, the service tool should become selected, and show the pattern’s name in the tool options.
 - Click on the map to create a station. There should now be a line that follows your cursor as it moves. This is now the first stop on our definition.
- Click further south to add another stop. Continue adding stops in a loop until you reach the first stop we created.
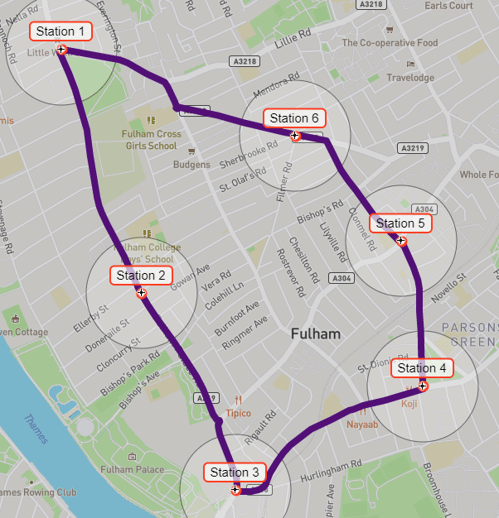
- Click on ‘Station 1’ again to stop adding stops. You should then see a list of stops along the pattern in the tool options.
- Stops along the definition can be removed or replaced from the
 panel.
 - Click
 to update the route with the pattern we have just defined.
 - You should also see the pattern we created shown on the map. It is translucent as it is currently inactive since there are no trips running on it.
Continue to 'Step 5. Creating a Trip'...
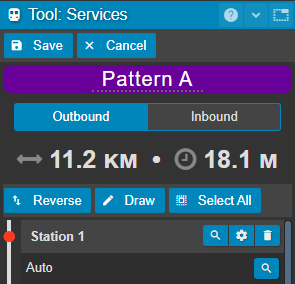 Outbound/Inbound allow you to toggle the direction of the pattern you are currently editing. Because we have created a looping pattern, we only need
 to define the outbound direction.
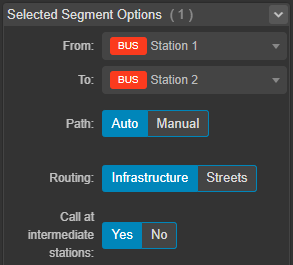 The stops along a pattern are linked by ‘segments’, which can either be ‘Manual’ or ‘Auto’. 'Auto' segments will follow the existing road network. Clicking the segment, either in the list or on the map, will select it and allow you to update its properties.