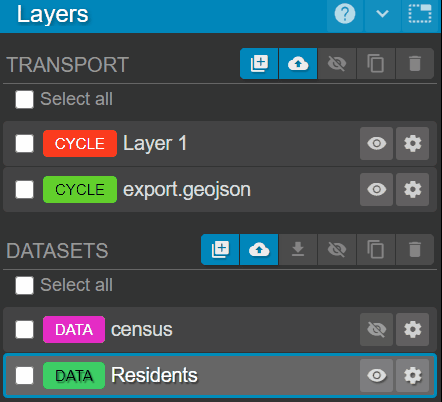
Datasets in Podaris are collections of GIS features that comprise a number of entities, each with a geographical location. These entities can take the form of polygons, linestrings or points and can contain a number of attributes of one of three types (string, number or boolean). Each entity may have values associated with each of its attributes.
Datasets allow you to put non-geographical data in a geographical context and use Podaris' geospatial analysis tools to perform sophisticated queries on the relationship between your datasets and the infrastructure in your project.
Creating a new dataset
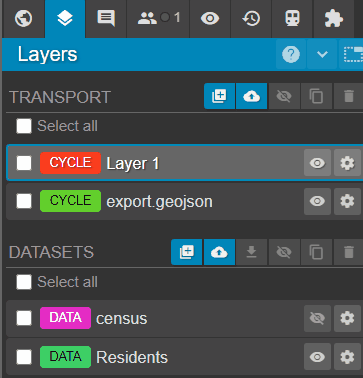
In order to create a new dataset, click the layers tab, and then the ![]() icon next to datasets.
icon next to datasets.
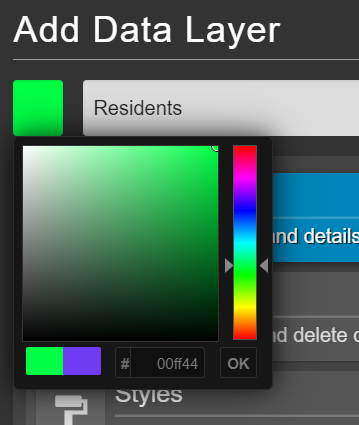
When the Data Layer Settings modal opens, you can title and colour your data layer. This name and colour will be displayed on the layers panel.
Creating new entities with the draw tool
Once you have created your layer, select it from the list of datasets in the layer panel and click the Draw Tool.
This will display the Tool: Draw panel.
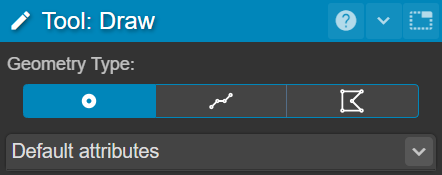
In the Tool: Draw panel, you will have the option to choose from one of three geometry types:
 |
Point |
 |
Line |
 |
Polygon |
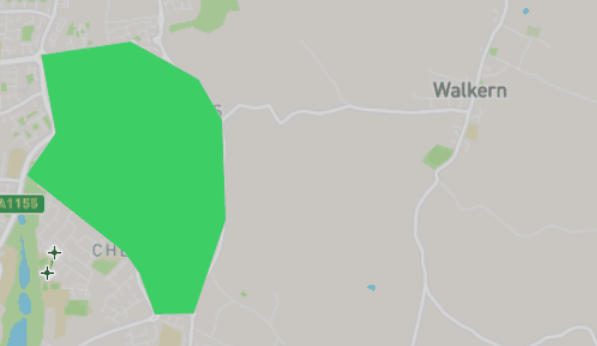
Drawing polygons
After clicking the  button, we can add connecting points on our map in order to create a complete polygon.
Drawing points
After clicking the  button, we can add points on our map for each entity.
Drawing lines
After clicking the  button, we can add connecting points in order to form a linestring. This linestring will be completed on the map once the first and last points are connected together, or you press
Creating attributes
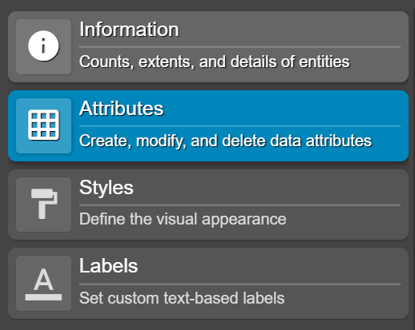
So far, we have seen how to draw entities with no associated attributes. Should we choose to create attributes, we must first click the ![]() button next to your new dataset layer.
button next to your new dataset layer.

We then click Attributes and  to create a new attribute.
Note, that creating attributes is optional and we are able to create and use dataset entities in later isochrone queries without any associated attributes.
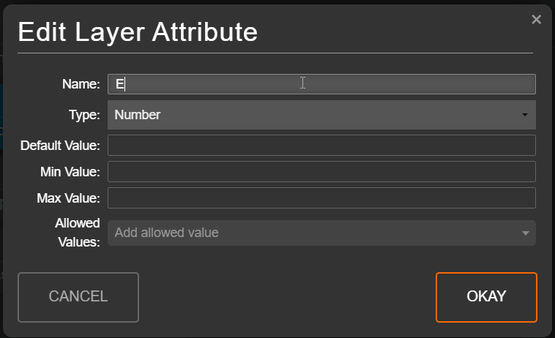
All attributes require a name and a type. Available types are:
- String
- Number
- Boolean
It is possible to enter a default value for each attribute. This is only a requirement for boolean attributes, which are true by default.
You may also create a list of allowed values for string and number types, as well as maximum and minimum values for number types.
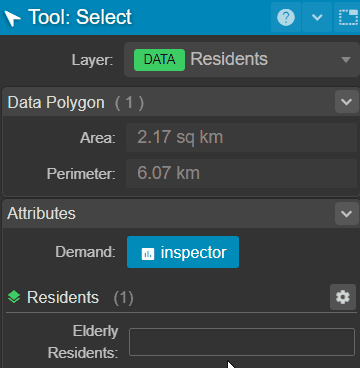
Now, we can add an appropriate value for our chosen attribute and press
Styling Datasets
Styling datasets can be achieved by clicking the cog icon ![]() next to the dataset layer that you wish to modify.
next to the dataset layer that you wish to modify.

The colour and stroke values of polygons, linestrings and points can all be styled here. There is also the option to choose to hide or show a legend, which will then correspond to the styles/naming within the classes that you select.
Styling by attribute
The fill colour of polygons, linestrings, and points can be styled based on a dataset’s attributes.
This can be done by changing the data type to Categorical, Numerical, or Simple.
Doing so will bring up additional settings:
-
Simple – You can modify the existing classes, allowing you to change the fill colour, stroke colour, line colour, and point colour. You can also adjust the width and fill styles of lines and points. Additionally, you have the option to change the point icon style, as well as the point icon stroke colour and width.
-
Categorical – You can select the relevant attribute from those set up in the Attributes tab. The colour scheme depends on the number of classes: a single class requires one colour, while multiple classes require a spectrum. Choose the colour range to categorise the attribute values. The colour scale reads from left to right, with the lowest values assigned the leftmost colour and the highest values assigned the rightmost colour. As with the Simple data type, you can adjust the colour, fill, and point sizes, widths, and styles.

- Numerical – Similar to the Categorical data type, you can select the relevant attribute from the Attributes tab and then define the classes. As with the Simple and Categorical data types, you can modify the colour, fill, point sizes, widths, and styles. The Numerical data type also includes the Steps Method, which provides options for defining class breaks: Jenks, Equal Interval, Manual, and Quantile.
- The class style settings can be expanded using drop-down arrows, allowing further customisation of colour, fill, and point properties.

Viewing active layers
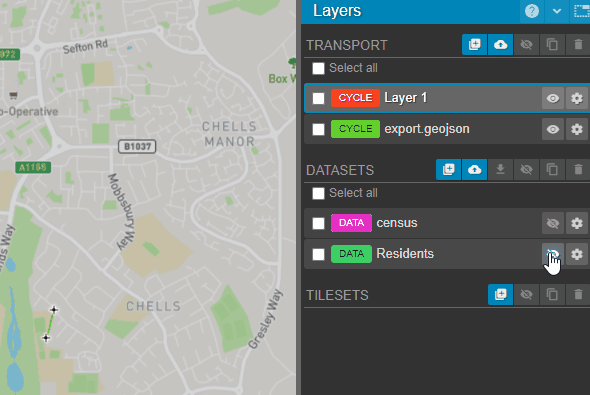
Clicking the ![]() button next to your chosen data layer will allow you to enable or disable its visibility.
button next to your chosen data layer will allow you to enable or disable its visibility.
Exporting Datasets
Datasets can be easily exported by clicking the checkbox next to the dataset you wish to export and clicking the  button.
Datasets can then be exported in a variety of formats.
| GeoJSON | An open standard format designed for representing simple geographical features |
| Shapefile | An Esri vector data storage format for storing the location, shape, and attributes of geographic features |
| KML |
An XML notation for expressing geographic annotation and visualization within two-dimensional maps |
| CSV |
A simple text file that stores your data in a table format, where each row represents a data entry and each column represents a data attribute |
Copying and Rotating Dataset Geometry
Dataset geometry can be freely copied and rotated in the same manner as infrastructure using the copy and rotate tools.
Importing Datasets
This page has shown you how to create datasets from scratch in Podaris. You can find out how to import and customise existing datasets here.