![podaris_logo_png.png]](https://support.podaris.com/hs-fs/hubfs/podaris_logo_png.png?height=50&name=podaris_logo_png.png)
Understanding Views
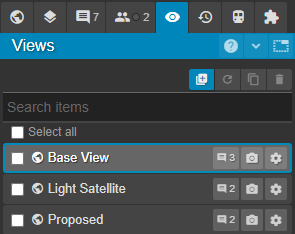
Views are ways of saving planning scenarios for easy recall and presentation. In addition to saving the visibility status of each Layer and Route, views record the location and display settings of the current viewport, allowing you to greatly customise the appearance of each scenario.
Views can be made available to either Editors or Viewers. Views made available to Editors are only visible to project collaborators with edit or administrator permissions. Views set as available to Viewers are also visible to anyone using Podaris:Engage. In this way, views can be used to present scenarios to a wider stakeholder group.
When creating Comments, they are posted to a specific view, so that the context they are referring to can be clearly understood. Views with comments on them are indicated by the presence of a Comment icon next to the view title, along with the number of comments in the view.
The base view is a special type of view which every project has. It always shows all layers and routes, and is always zoomed to the full extent of the project.
View Tools
-png.png)
 |
Create new view, saving the current layer-state, map style, location, and display settings. |
 |
Update to current display settings |
 |
Duplicate view |
 |
Delete view |
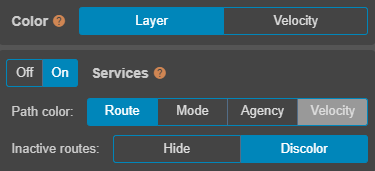
A variety of colour styles can be saved between views - those include styles configurable in the display settings (below). Colours used to distinguish routes in the Services Panel and those set for transport layers in the Layers Panel can not be set on a per-view basis.
Adding Descriptions to Views
-png-1.png?width=670&height=350&name=unnamed%20(1)-png-1.png)
Just like adding rich formatted descriptions for your overall projects, you can also add descriptions to views created within a project. This means you can leave descriptions to outline the different options or scenarios you have planned within your project, giving each scenario view the detailed context it needs.
This can be done initially when a new view is created, or updated later in the view's settings, and is contained within the 'Description' section of the view settings.
View descriptions support Markdown enabling you to add links and format text.
When sharing with stakeholders in Podaris:Engage your descriptions will be displayed for each view when that view is selected, ensuring stakeholders can easily interpret the proposals and understand what makes each option or scenario unique.
Working with Views
- Single-clicking on a view will make it active and update your map to display that view.
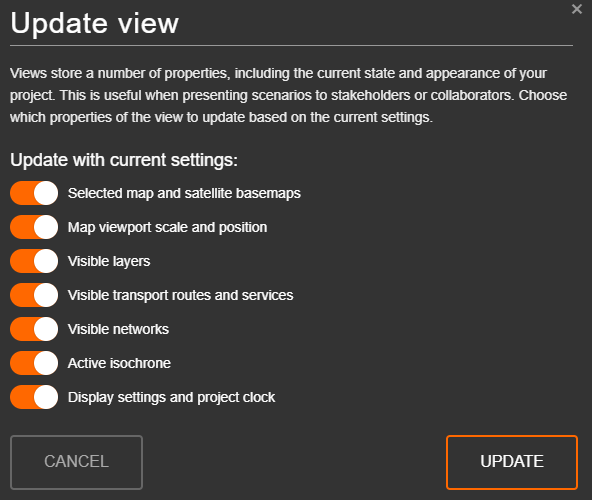
- To update a view to a new configuration, select its checkbox, and then click on the menu in the upper-right and choose . This will override the saved view with the view that is currently visible on screen and the properties that you have chosen below.
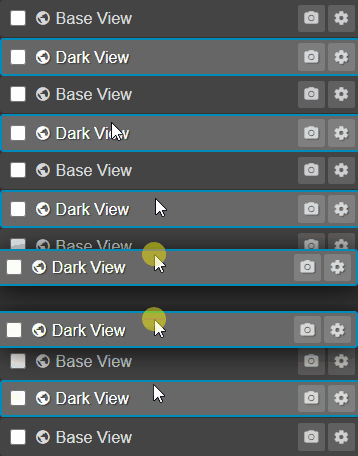
Changing the Tabbed Order of Views
Isochrones are a powerful way to convey spatial accessibility. You can pin an isochrone to a view using the Isochrone pinning function. This makes the isochrone visible to stakeholders using Podaris:Engage, and also allows isochrones to be captured by Snapshots. Views with isochrones next to them are indicated by the presence of the "Isochrone man" icon next to the view title.
Snapshots
You can download a high-resolution snapshot of a view by using the snapshot tool.
Comments on Views
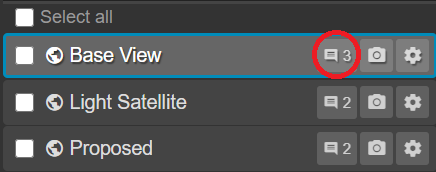
The number of comments for each view is indicated in an icon next to its title. Clicking the comment button next to a view will make that view active and display a list of all comments within that view.
Embedding Views and Changing Access Settings
You can embed views within your website. In order to do this, both your project and the view will need to be public.
- Click the Gear icon next to the view that you wish to embed.
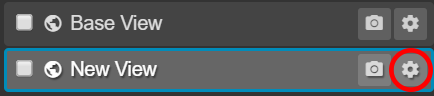
- Name your view and make it available to 'Viewers'
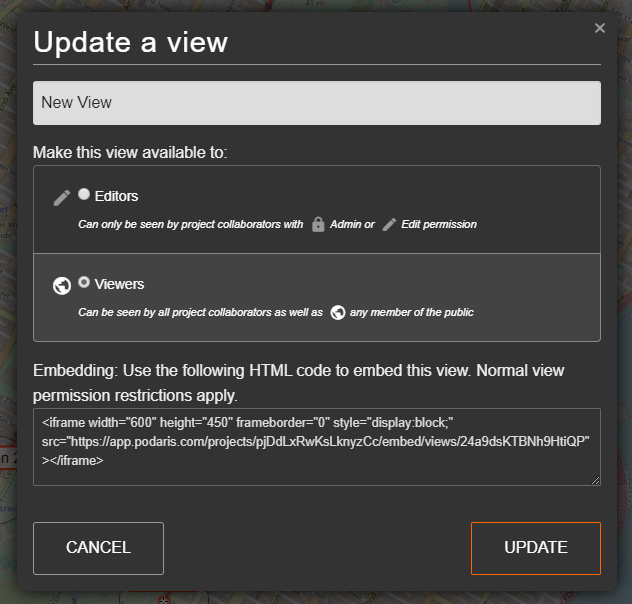
- Controls can be enabled on your embedded view by appending ?showControls=true to the URL.
-
Copy the automatically generated HTML code to use it within a webpage.
Selecting and Deselecting Views
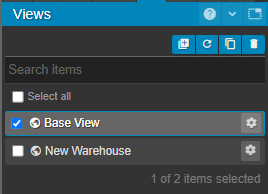
Views can be selected and deselected using the tickboxes next to the view's name. At the bottom of the list of your views, the number of selected views and the total number of views are visible.
The 'Select all' tickbox will select or deselect all views. Clicking between two views in the list while holding SHIFT will also select all other views in between.
Using Views in Streets Projects
While views in Plan projects primarily manage visual states, display settings, and Engage tabs, views in Streets projects function fundamentally differently. In a Streets project, a view represents a branch of the street network itself.
It is crucial to understand that your network edits are tied to the specific view you are working in. When you create a new view in a Streets project, it inherits the exact network version of its parent view at that moment. From there, your edits diverge, allowing you to build independent street network scenarios without overwriting the original base network or other views.
Working with Street Branches: Because these views act as active version-control branches, there are specific rules for managing them:
- Unpublished Edits: You cannot switch to another view while you have unpublished edits in your current view. You must publish or discard your changes before navigating to a different branch of the network.
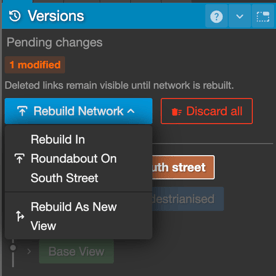
- Deleting Views (Branch Pointers): Technically, a view in a Streets project is a "branch pointer" to a specific line of version history. When you delete a view, you are simply removing this pointer. Podaris will then only soft-delete the network versions that can no longer be reached by any other existing view, ensuring that any shared network history remains perfectly intact across your other branches.